Part Two – Arrow

In this part of the guide, we will start with a bit of theory and some brief recommendations.
First, some general advice on building models.
If you want to achieve good quality in the models you make, it is important to keep your workspace clean.
Cover your work surface, including the tabletop, with a transparent plastic sheet.
If it becomes dirty during assembly, replace it. This will prevent your model parts from getting soiled or even damaged.
Never eat or place drinks in your workspace. Never.
Regularly remove waste materials (scraps from the paper model).
Remember this—it is important.
Now we will assemble the improved wing of the ARROW model
Following the procedure from the first part of the guide, prepare the individual pieces for constructing the wing.
Do not glue the wing yet. Prepare the binding wire and cut it to a length of 18 cm using scissors.
Shape the wire so that it runs approximately along the center of piece n°2 along its entire length (see illustration).
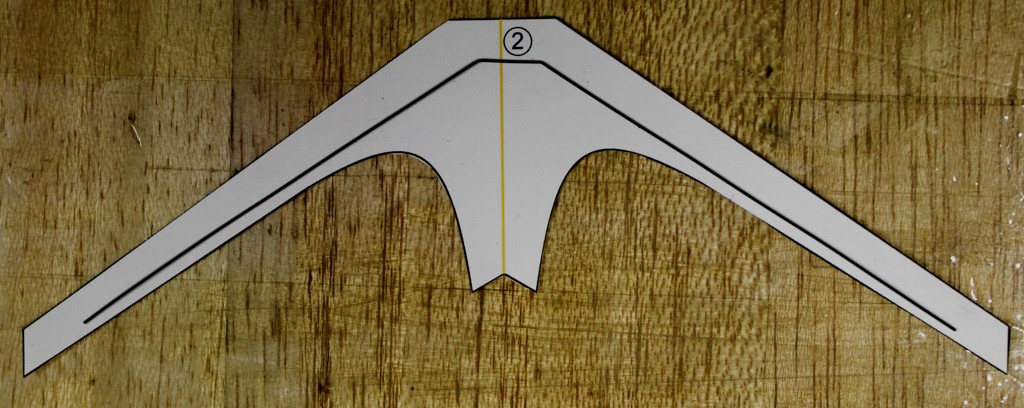
Fix the wire to piece n°2 (glue it) and let it dry slightly—just enough so you can continue working with the piece.
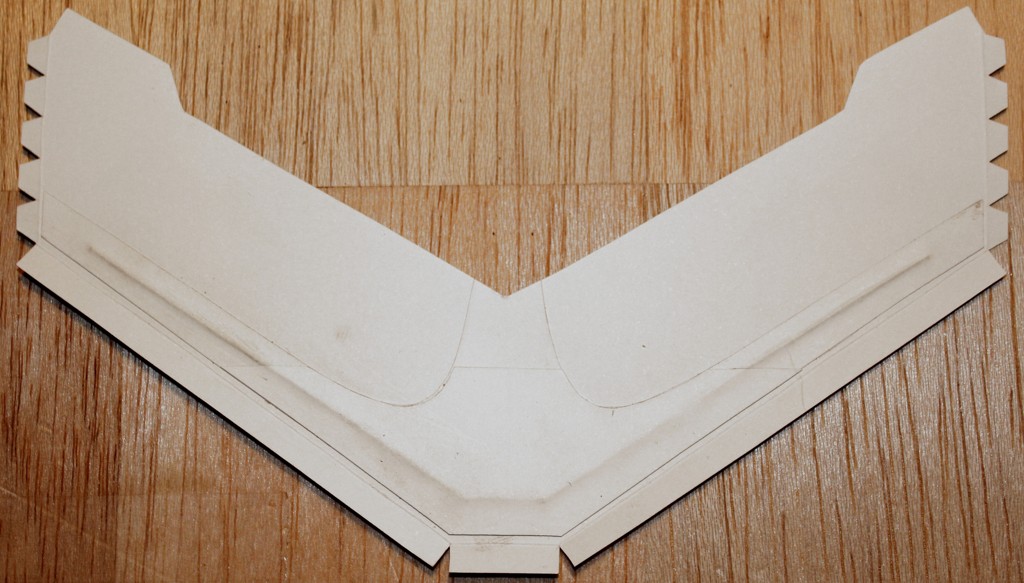
Glue piece n°2 to piece n°1 so that the wire is sandwiched between these two pieces (see illustration).
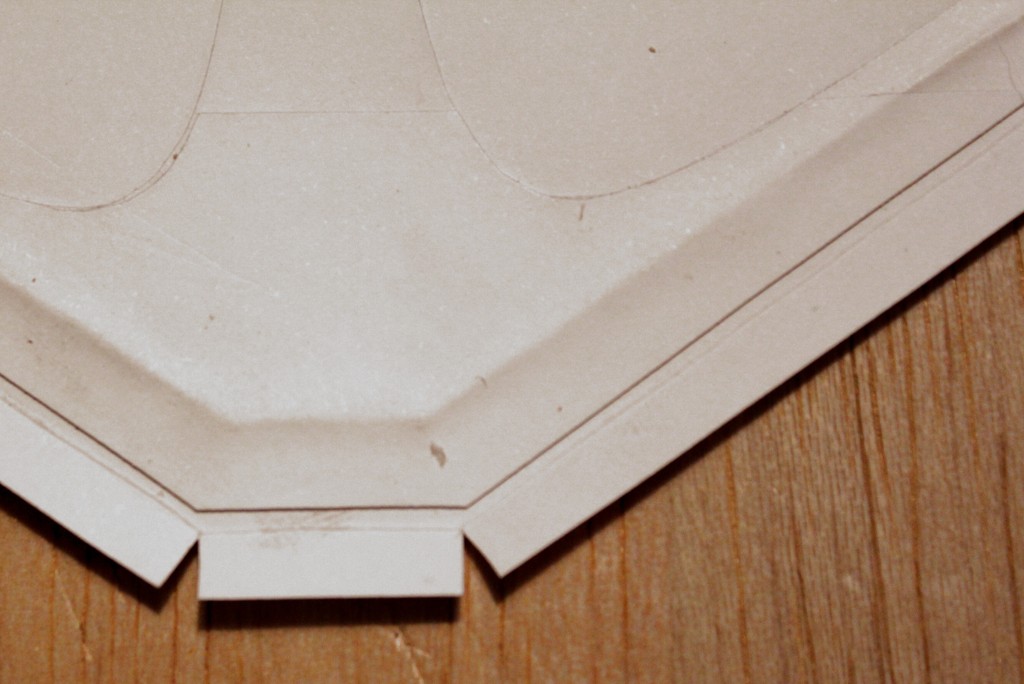
Do not glue piece n°2 all the way up to the folded edge of piece n°1.
Leave a gap of approximately 1 mm between piece n°2 and the edge of piece n°1.
Next, continue exactly as in the previous instructions. The wire in the wing of the model serves two purposes.
First, it reinforces the wing overall. It helps the wing hold its shape better and reduces twisting.
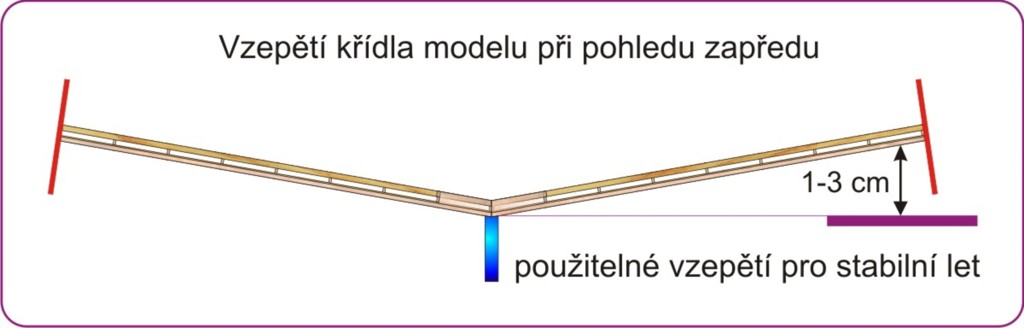
Second, it allows you to adjust the dihedral of the wing during test flights.
The dihedral of the wing is essentially its bend. It directly affects the flight of the model.
If the dihedral is too small, the model will be unstable in flight (it will tip to the right or left).
If it is too large, the model will be stable but will hardly fly far (it will fly straight but not far).
You can test this practically with the model you built.
Bend the wing symmetrically, meaning both sides should be bent equally upwards from the “base” surface.
For a stable flight of the ARROW model, the dihedral should range from 1 to 3 cm (measured from the front view, from the point where the wing bends—see illustration).
Don’t be afraid to test how the wing dihedral affects the model’s flight. Our wing is very durable.
Experiment freely. It is important that you try as many different settings as possible in practice.
After each adjustment of the wing dihedral, test it with several throws of the model.
Also note that with a larger dihedral, you can move the weight clip closer to the wing (which directly extends the flight distance),
and conversely, with a smaller dihedral, you need to move the clip as far forward as possible to get the model to fly at all.
Now we will use the experience gained from building this model to construct the next model.
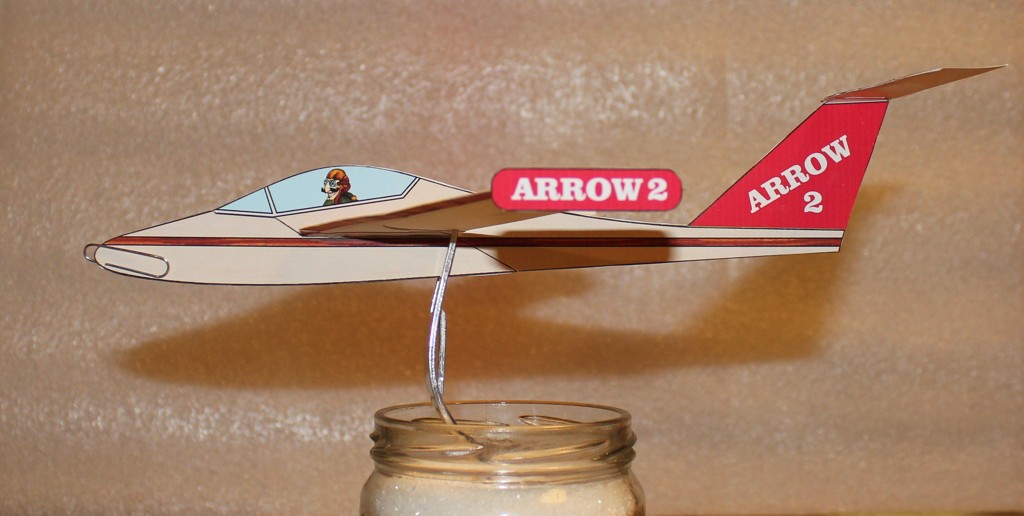
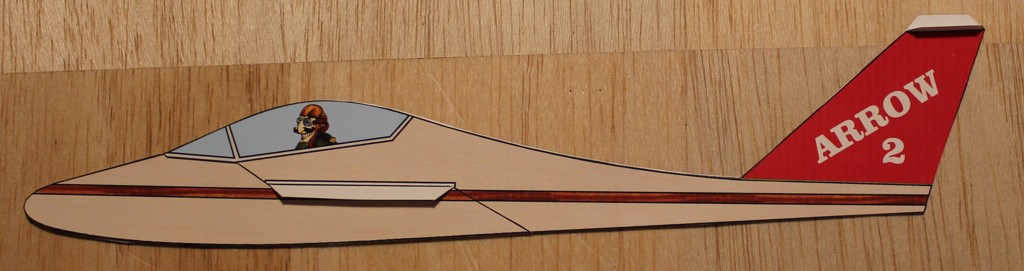
ARROW 2 Glide
This model is essentially based on the previous one.
The wing is assembled from the previous cutout, reinforced with binding wire and shaped with the appropriate dihedral.
The only difference is that the small surfaces at the wing tips will be smaller (piece n°8).
The fuselage is glued together in almost the same way as the previous model.
First, glue the central fuselage pieces n°9 and 10 together.
Once dry, gradually attach the side panels n°11 and the fuselage reinforcement n°12.
For the fuselage reinforcement n°12, don’t forget to fold the white tabs under the wing opening before gluing, so they do not stick to the fuselage. You will need them later to attach the wing.
Also, remember to cut out the opening for inserting the wing in fuselage pieces n°9, 10, and 11,
and fold the white tabs on the red tail fin of the model intended for attaching the horizontal stabilizer.
The horizontal stabilizer of the model, piece n°13, is made from a single piece. It is reinforced only by a fold along its front edge
(just like the wing of the first version of the ARROW model).
After all the main parts of the model have dried (wing, fuselage, horizontal stabilizer), assemble the model.
Glue the wing into the fuselage, and attach the horizontal stabilizer n°13 to the vertical tail fin.
Check its symmetry from a front view.
Allow the model to dry thoroughly before test flying. Test it in the same way as the previous flying wing.
After the basic test flights, you can fine-tune the flight by slightly bending the tips of the horizontal stabilizer upwards.
In the same way as with the flying wing, you can experiment with how the wing dihedral affects the flight.
If you have more time to assemble the model (for example, more than a single class period), you can use liquid Herkules glue.
Apply a thin layer of glue to each part with a small brush. Unlike a glue stick, it allows for more precise and easier work.
However, be careful and maintain a clean workspace to prevent the glue from spilling.
Next, we will take a closer look at the center of gravity of the model.